
Replacing an Old Sprinkler Controller with the Rachio 3 Was Easy
Customer photos 2
Select a photo to open the gallery.
Full customer review
Customer's headline
Easy ... very easy ... to install
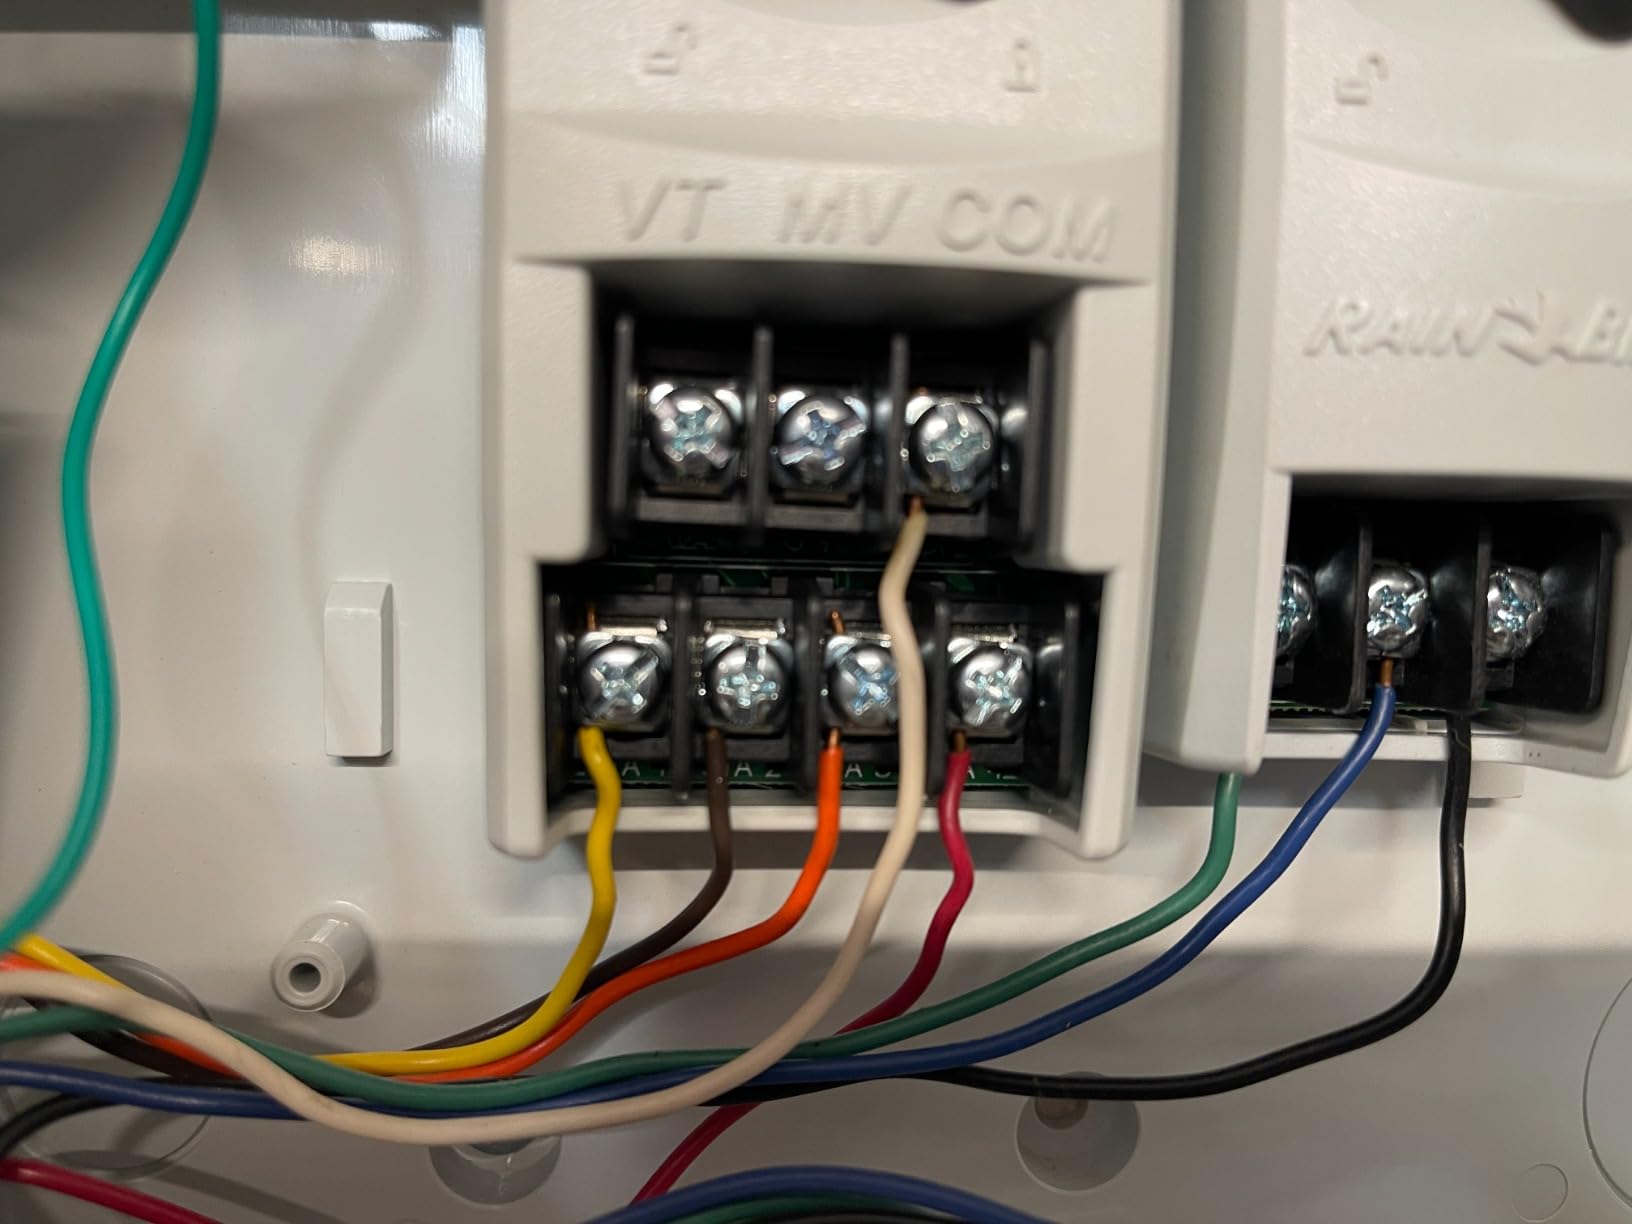
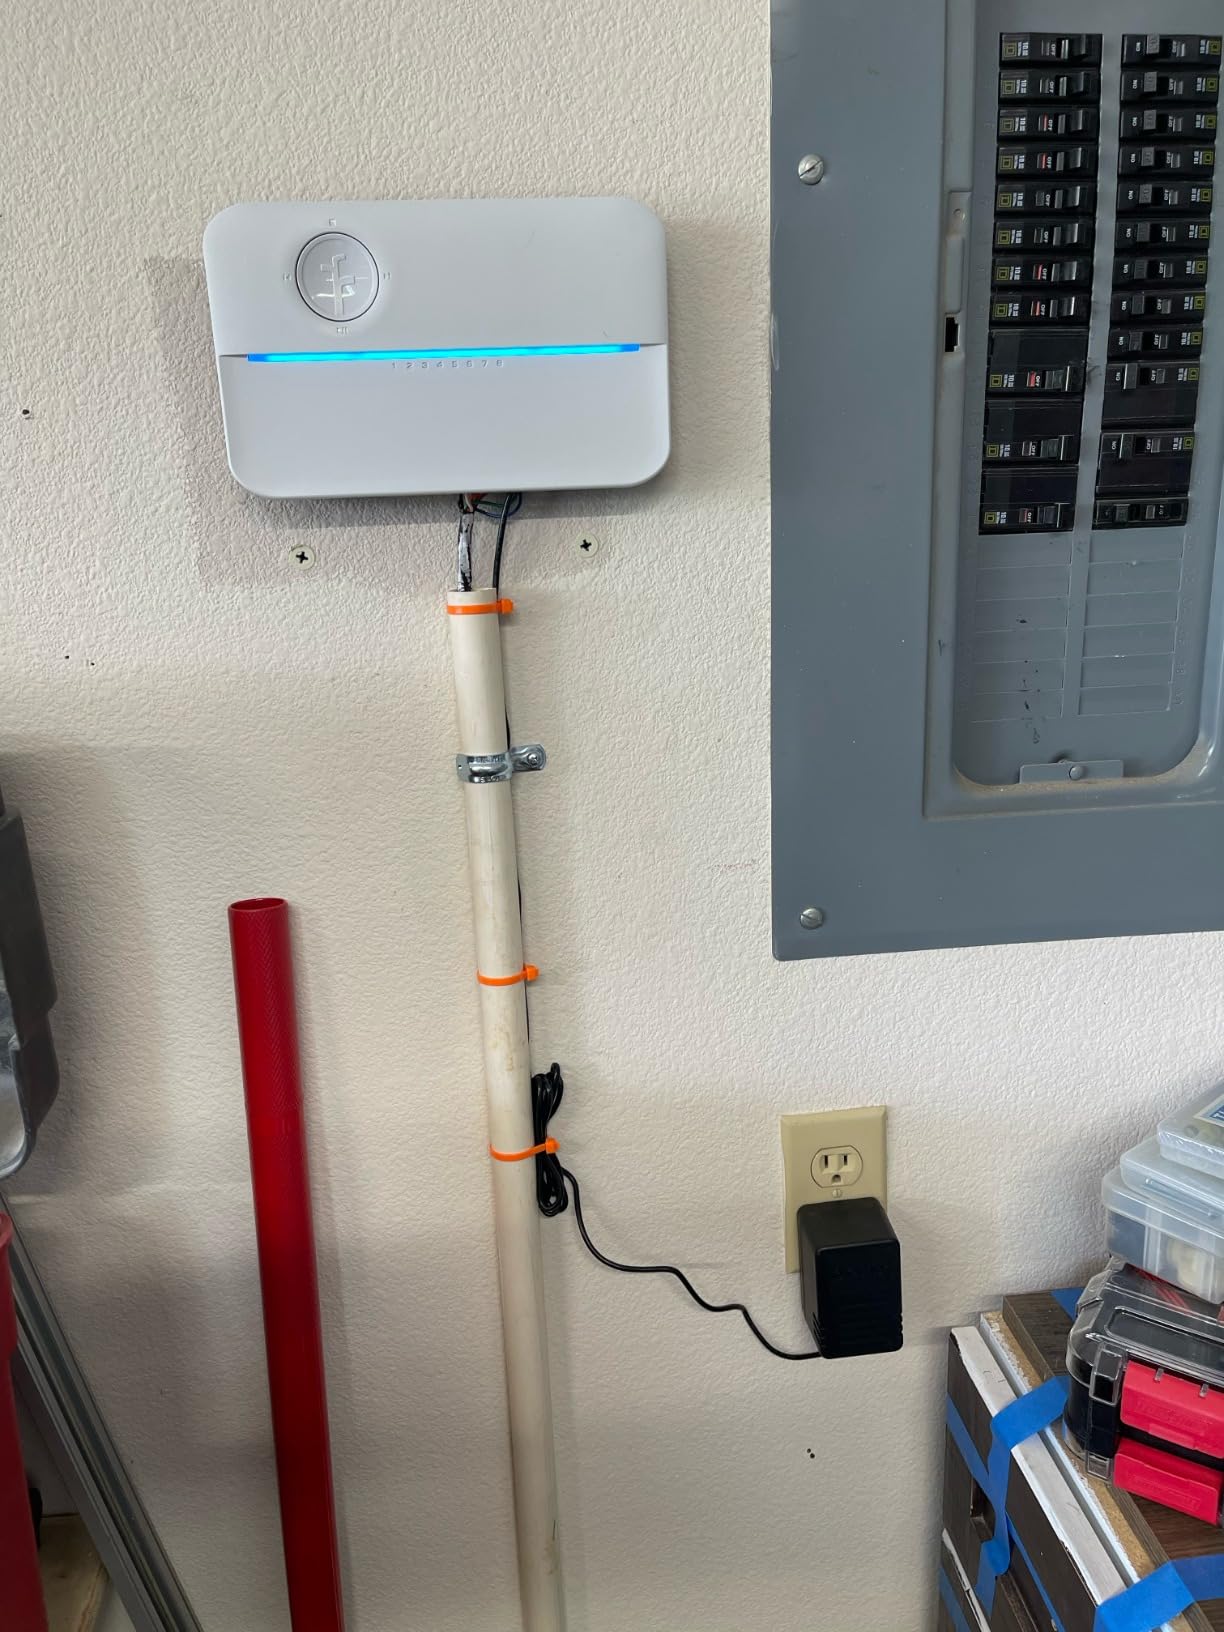
I purchased this to replace a Rainbird 8-zone system. Install process was quite easy. Experience level: 11 years as an IT Director, plenty of moves/adds/installs of computer, low voltage and high voltage equipment. In addition to the tools listed in the kit, I recommend buying a wire stripping tool. These are an excellent addition to your home tool kit. Download the Rachio app first and set up your account. This will save time. Also, take your phone or tablet to the installation location and make sure you have adequate WiFi reception. If your reception is two bars or less, install a WiFi extender. It might work with two bars, but it might not. Better safe than sorry. 1. Disconnect power to the old controller. 2. Open the old controller to see the wiring. TAKE A PICTURE OF THE WIRING! I also wrote down the Zone number and wire color for each one. Redundancy is a good thing. However, I also wasted time using painter's tape to label every wire. 3. Disconnect the wiring from the old controller. 4. Remove the old controller - usually three or four screws, one of the screws on my old controller was hidden under top cover of the zone modules. Rule of thumb: If it doesn't come off or go on easily, check for something you've missed. For my installation, I discovered that the PVC pipe used to cover the wiring from the controller to the zones was not anchored to the wall. I installed a sheetrock anchor and used a conduit clamp to stabilize the conduit. 5. Use the template (last page of the installation guide) to mark your holes. Use a level if you want it to be straight and center the top hole over whatever is used to cover the wiring. 6. Install the sheetrock anchors. FWIW-I used 3rd party sheetrock anchors as I've found that the ones included with most wall-mount equipment are cheap junk. 7. Mount the controller. 8. Check the length of the wires, then fan them out to make sure each one reaches the correct connector. For me, I had to trim off 6" of wiring, thus the earlier comment about the wire stripping tool. If you do this, strip about 1/2" of the wire and make sure it is straight. 9. Insert the stripped end of the wire into the appropriate connector. 10. Connect the power cord to the wall outlet, then run the cord to the controller. I neatened this up with a zip tie and tucked it under the conduit clamp, then used zip-ties to anchor it to the conduit as well. I like a neat install. 11. Once you connect power, the device will illuminate. Follow the instructions in the installation book and open the app on your phone. You'll be guided step by step for the rest of the setup process. And, as you can see in the video, my husky/shepherd puppy rather enjoyed the setup and testing process. The other pup was nonplussed. I'm quite pleased with the controller and I'll update the review as time goes by.
 Compact, easy to use, convenient, versatile portable power supply
 Best Security Cameras on a budget
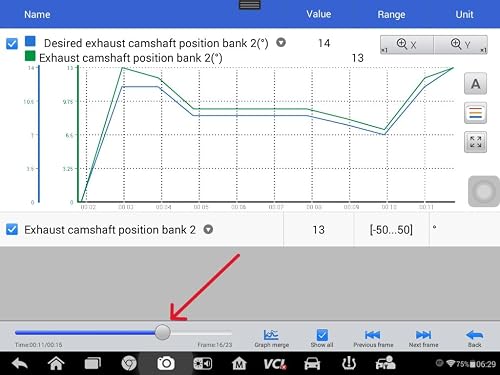 Good value scan tool
 The 'Good Enough' Laptop
 Lightweight, comfortable, casual jacket with and oversized fit and cute style
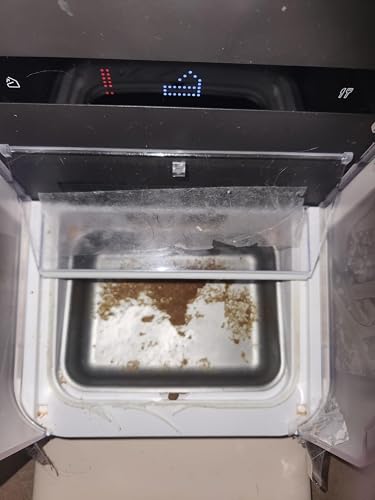 Major design flaw the company does not care about> Edit: new model is great!