
Customer Install Experience With the Scion PT769-52001 on a Scion xB
Customer photos 5
Select a photo to open the gallery · scroll sideways for more.
Full customer review
Customer's headline
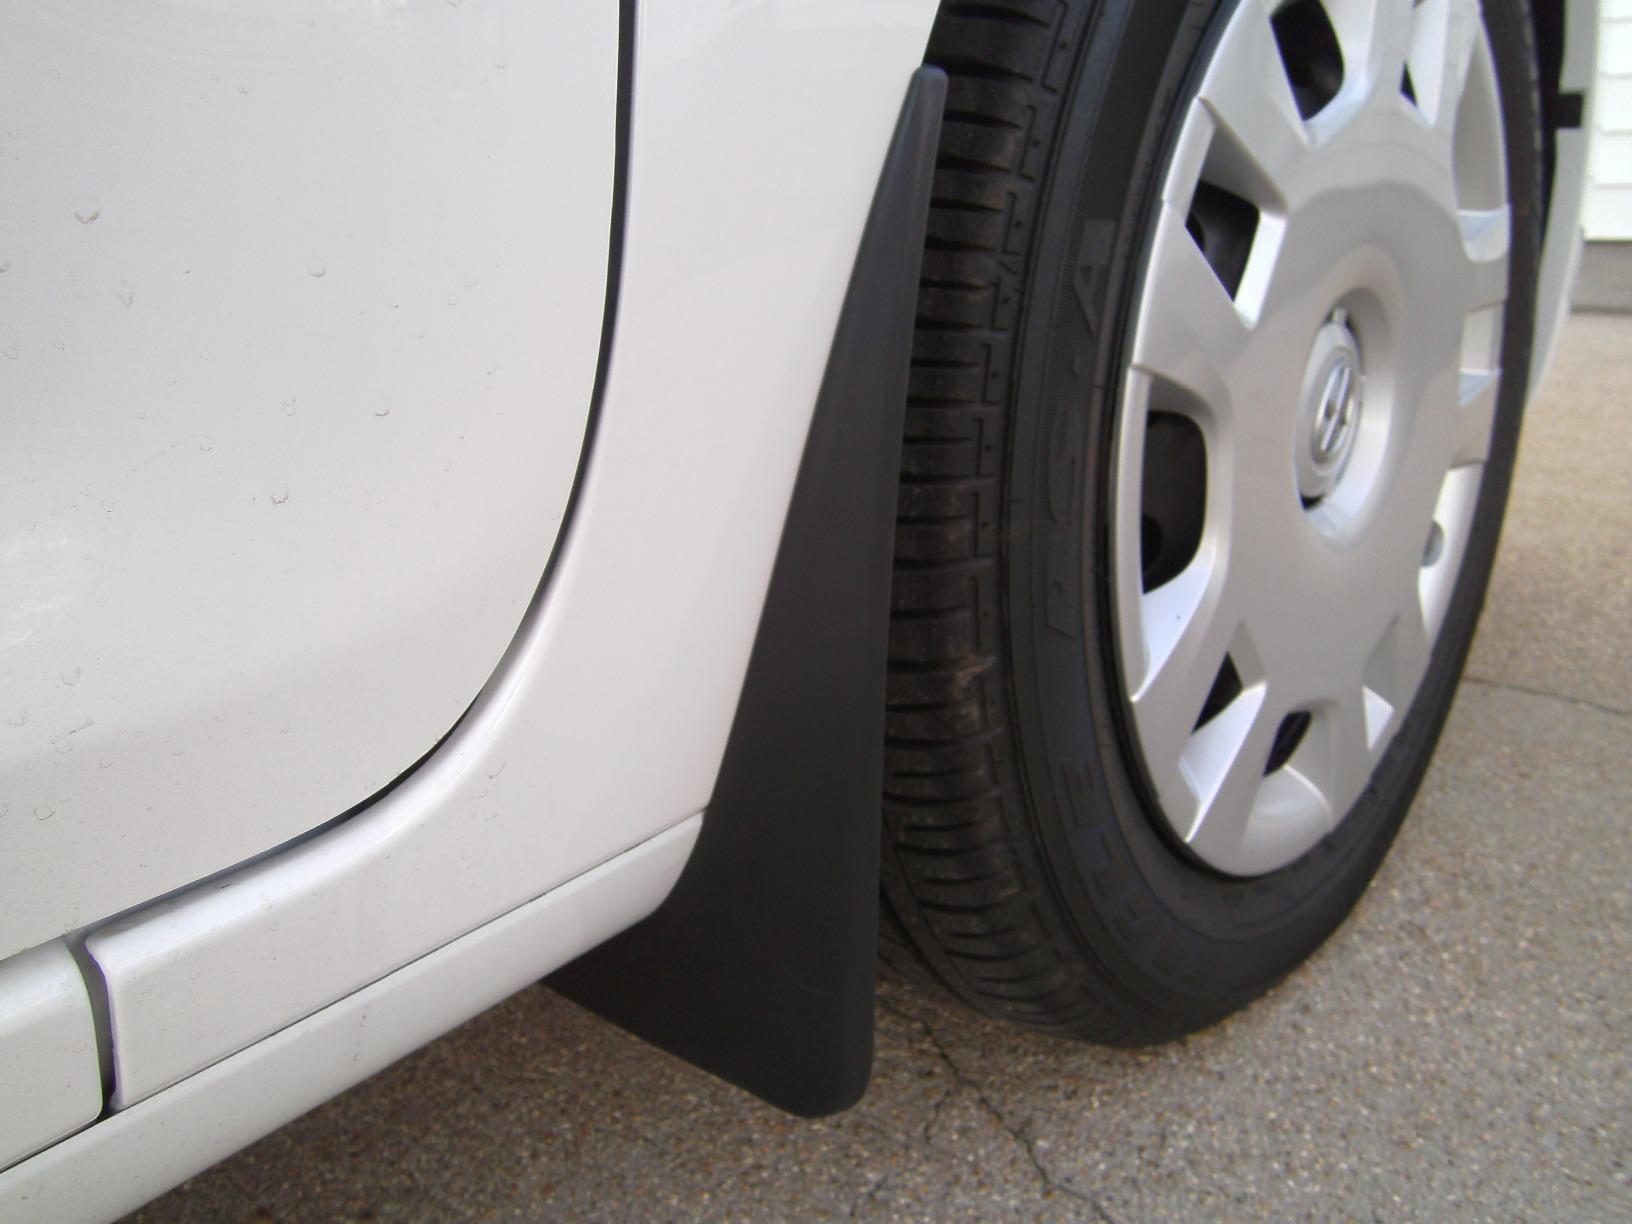
Mama says her box never looked better!
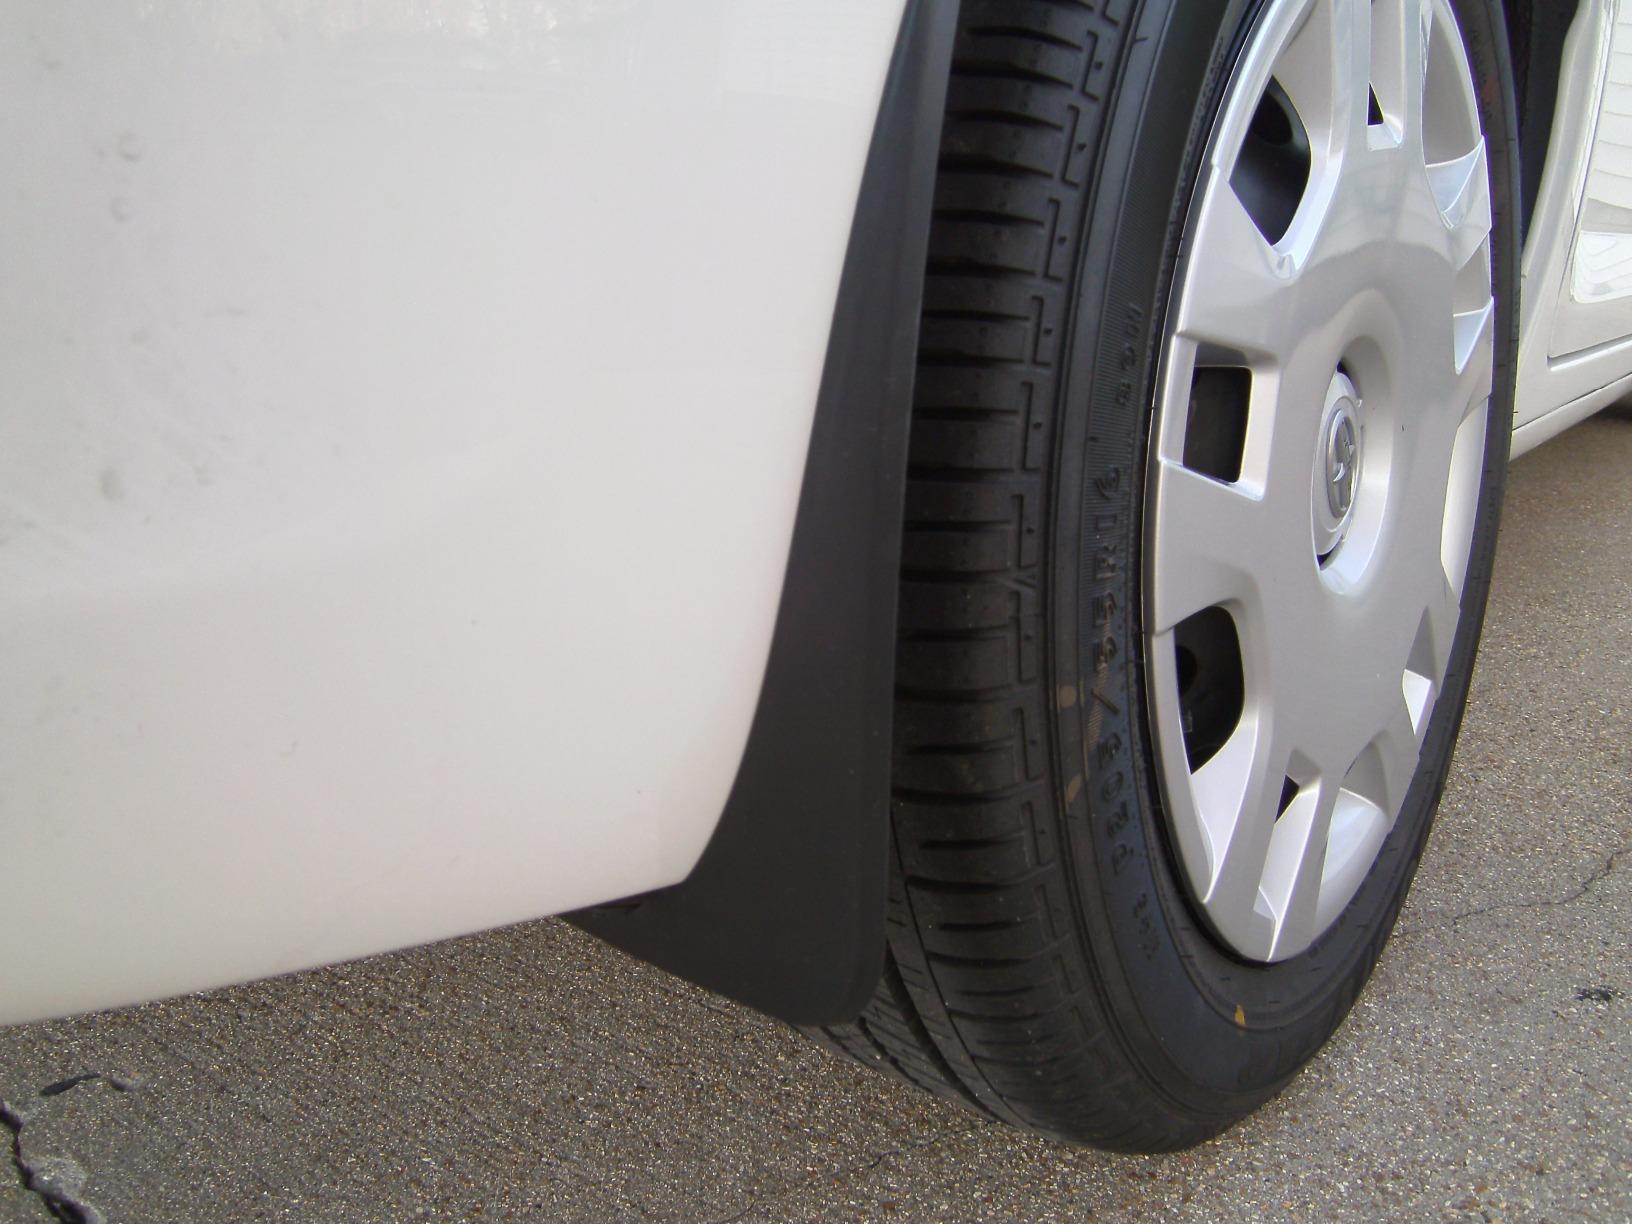
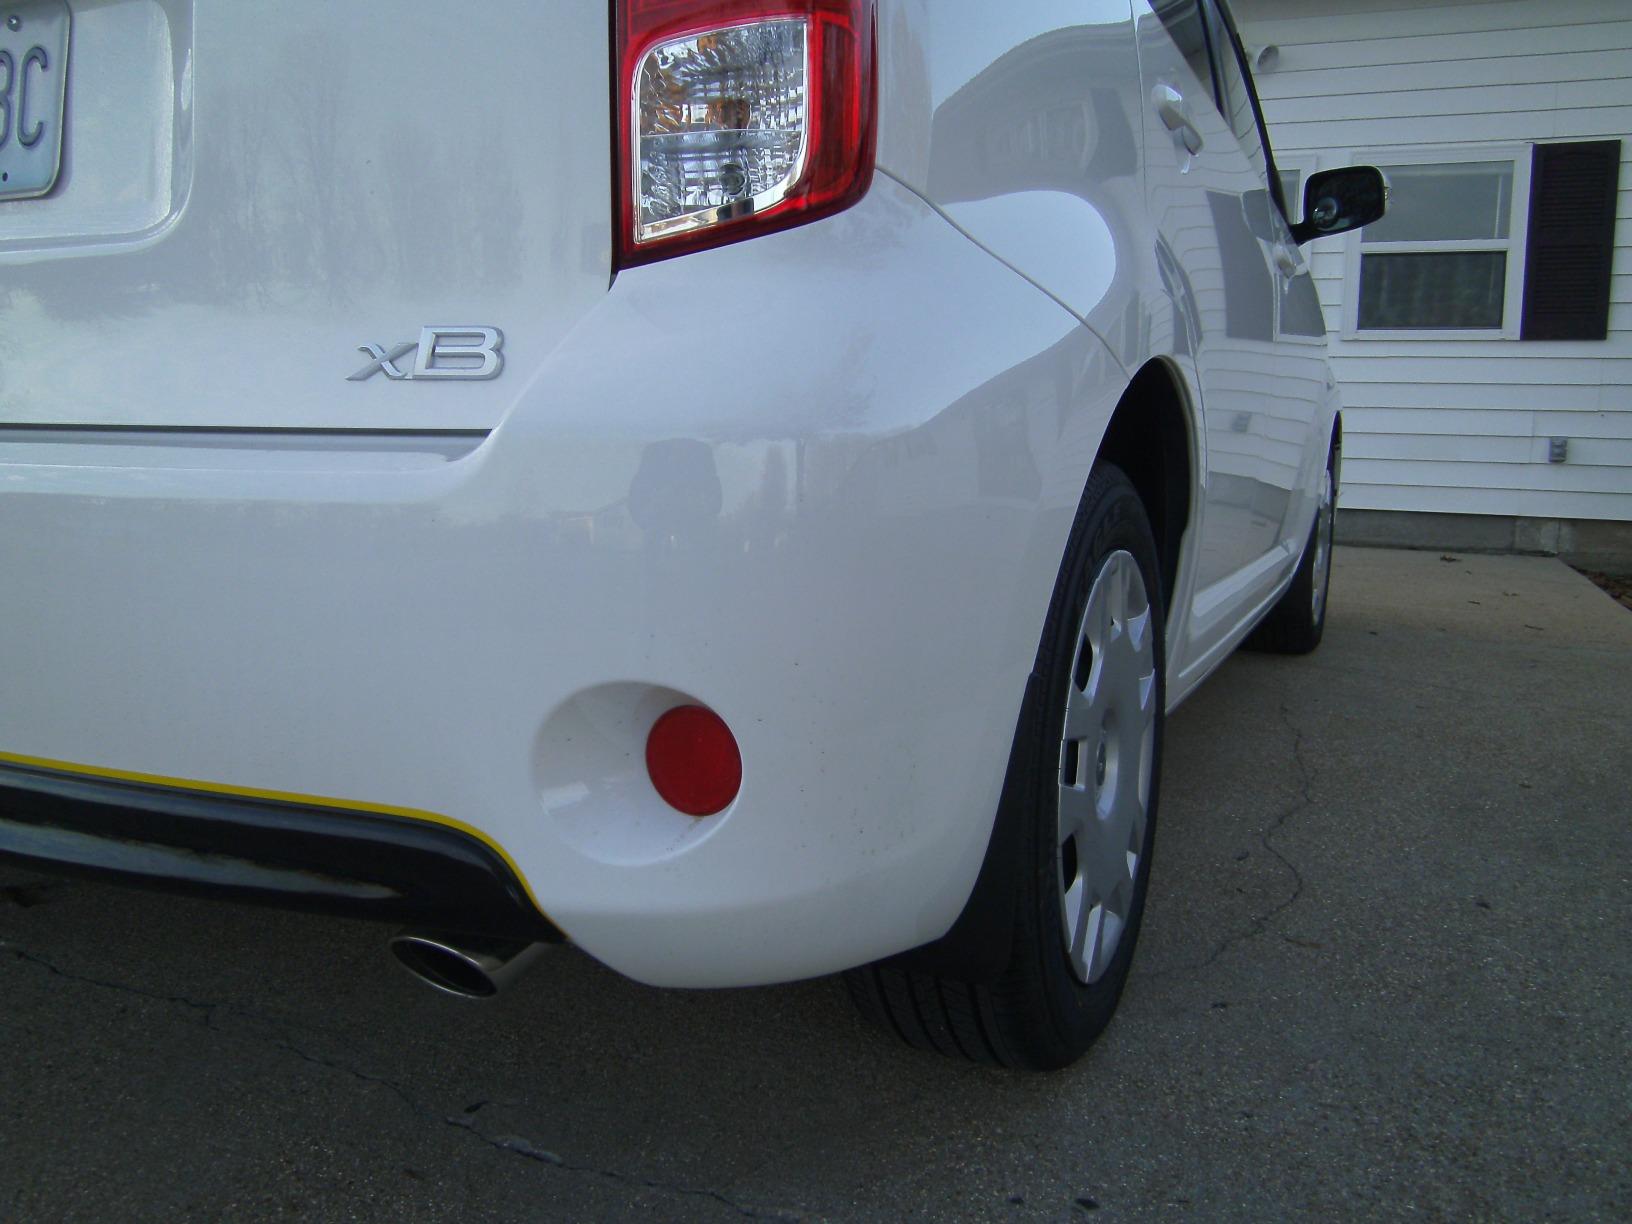
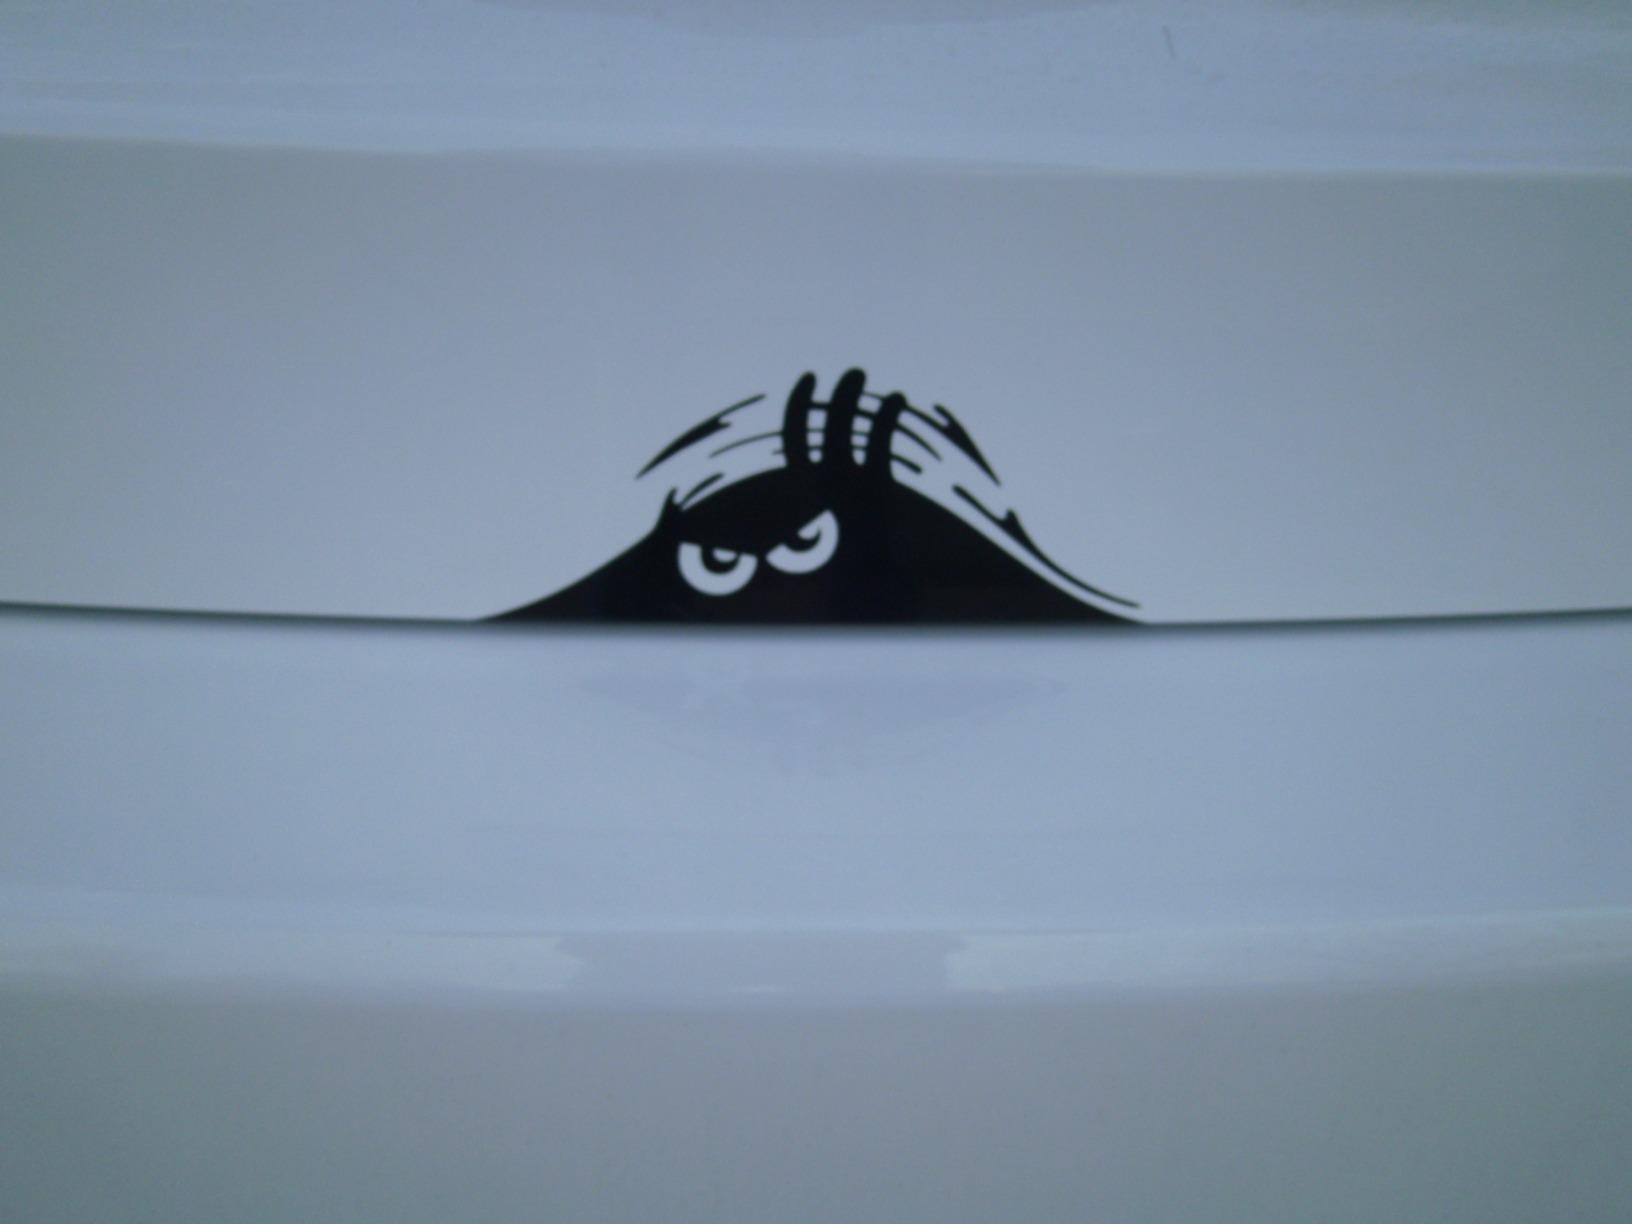
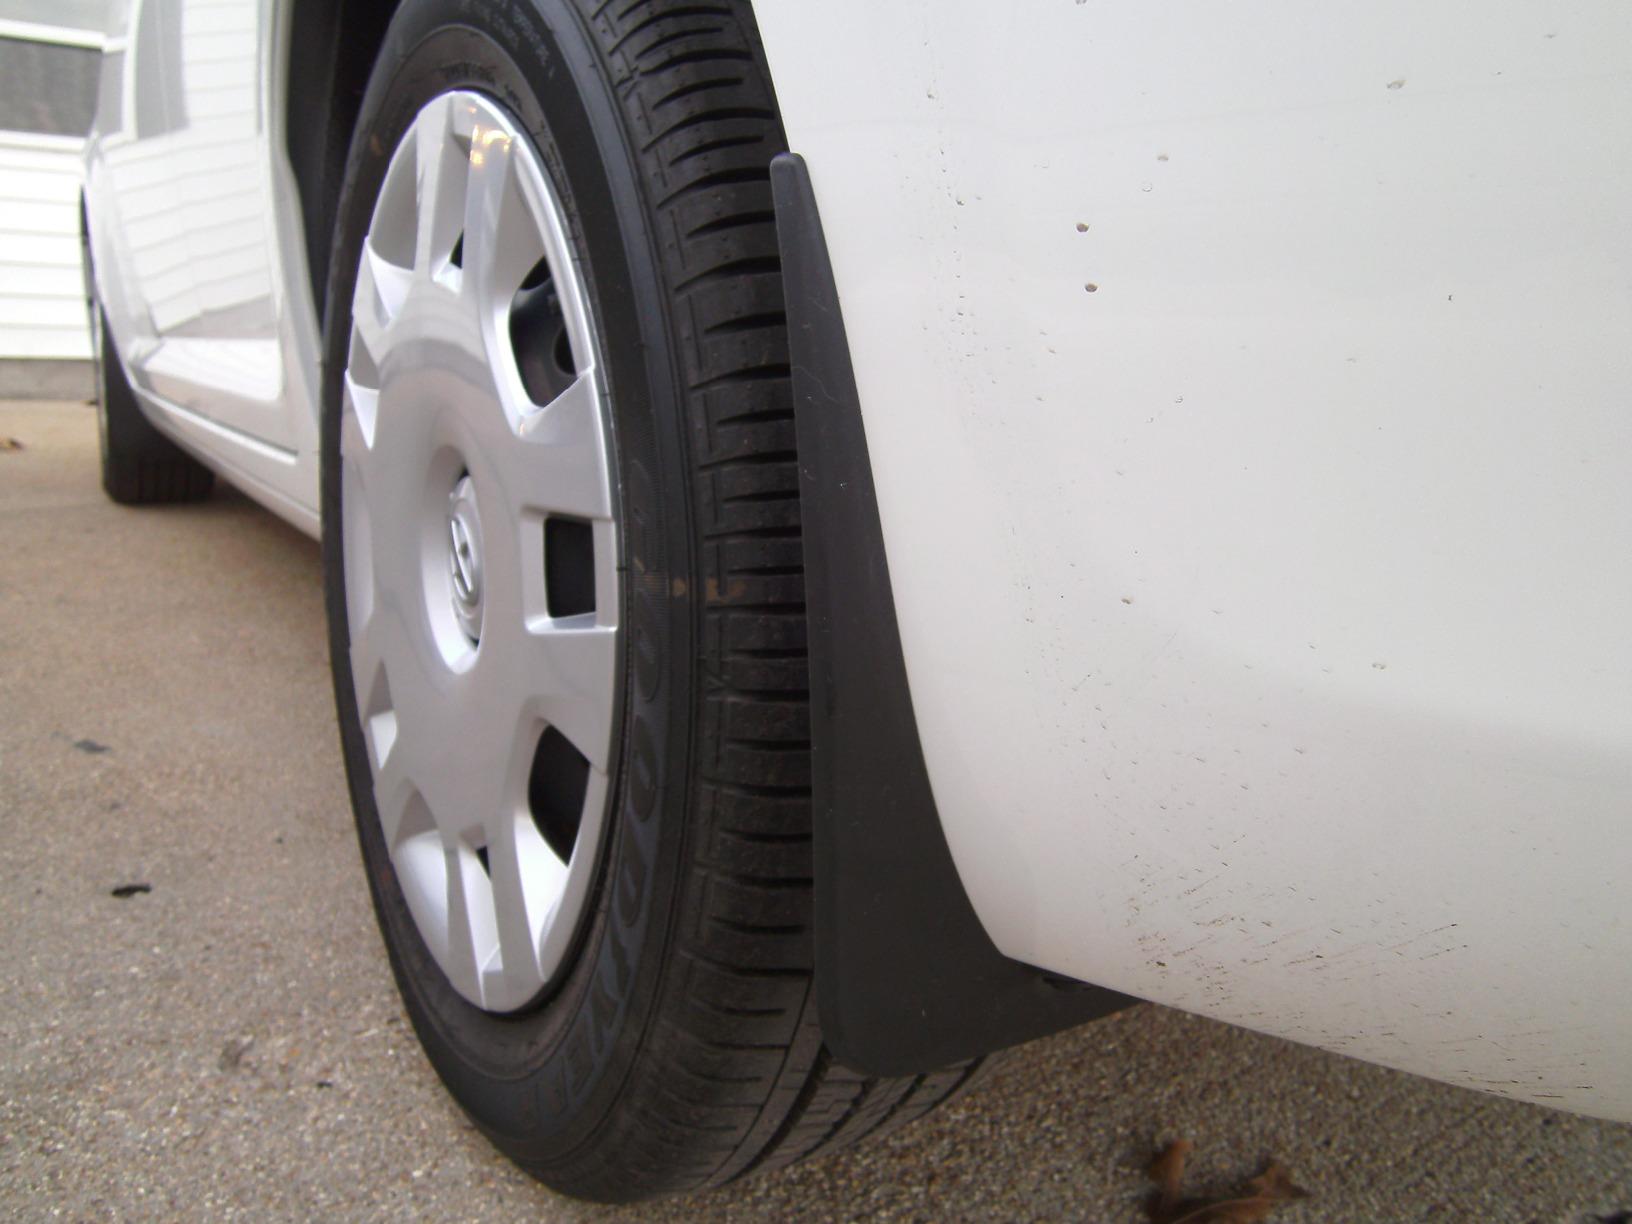
These mudflaps fit my 2015 SCION XB perfectly. They follow the contour of the body very precisely. The ones I received were genuine Scion. They came with two little bags of screws and no instructions. Bag one has 4 big screws (19mm) these will be used on the front mud flaps along with the two existing 10mm bolts already on the wheel well. And of course the other bag will be for the rear mudflaps. This bag will have 2 big screws (19mm) no drilling to install them and 2 medium screws (14mm) that get used with the spring clips which take a 1/4 inch drill bit to install and the second bag will also have 2 big plastic push pins which will take a 5/16 drill bit to install. Total time to install was about one hour from taking tires off and putting back on. STEP 1:You will need to remove tires to install so that you can drill holes. STEP 2: Clean all areas where mudflaps will touch. TOOLS NEEDED: Straight screwdriver, Phillips screw driver, 10mm socket, ratchet and small extension. Drill bits 3/32, 1/4, 5/16 and of course a drill. '''IMPORTANT''' You will use the mudflaps held in place as a template to drill holes. For a very tight fit YOU MUST use one hand to push mudflap FIRMLY against your SCION XB body EVERY TIME before you drill a hole or install a bolt, screw or push pin. ONLY drill one hole at a time and then install your bolt, screw or push pin securely before you drill the next hole. All holes drilled are into the plastic of the wheel wells except for one hole on each side in the rear. FRONT MUD FLAPS INSTALL: These are super easy to install. Put one in place and you will see there are 2 (10mm) bolts in your way (already there). Remove both bolts (This is the only time you may need the ratchet) and put mudflap in place firmly against the vehicle body and re-install bolts using 10mm socket and small extension to screw bolts back in BY HAND snug. Do not use ratchet you may over tighten and strip out the hole. You are screwing plastic to plastic. Now you will see there are two holes left on the mudflap. You will while holding the mudflap firmly against vehicle drill one 3/32 hole in either one of these holes center and into the plastic wheel well and then install one (19mm) big screw just snug with a Phillips screw driver while pushing mudflap firmly against vehicle. Remember you are screwing plastic to plastic. Repeat for the other hole. AND YOUR DONE. One final note, you may think that the 3/32 hole is to small for the big screw. DO NOT drill it bigger, use the small 3/32 drill bit, the screws are course thread and are designed to thread the plastic as the are screwed in. If you drill it bigger it will not hold and if you didn't drill a hole at all you may crack the plastic wheel well and of course it won't hold then either. Drill bit sizes ARE from Scions installation technical instructions created by their engineers for the installation of these mud flaps. REAR MUDFLAPS INSTALL: These are a little more involved than the front ones, but still very easy if you follow my steps in order. These also have 4 holes on them just like the front ones. We will call the top hole #1 and the last hole (at the bottom #4. Step 1: Put mudflap in place and you will see that hole #1 has a small plastic push pin already there holding the plastic wheel well to the vehicle body and hole #4 also already has a big plastic push pin holding wheel well to the vehicle. NOTE: You will need to lay on the ground and look up under vehicle to see how #4 goes. Step 2: Using straight screwdriver spin hole #1 plastic push pin around and around a couple of times (like your trying to tighten a screw) and then pry it out using screwdriver. Throw the plastic pin away, you will replace it LATER with a (19mm) big screw. Step 3: go to hole #4 underneath vehicle using a straight screwdriver and laying on your back reach up and just pry the inner head of plastic push pin out until you can remove the whole push pin assembly easily. Step 4: Put mud flap firmly in place and put the big push pin you just took out from hole #4 back in (you may have to use a small hammer to tap it in securely). Step 5: DO NOT do hole #1 yet. You will go to hole #2 right below it. This is the second hole down from the top. You will drill a 1/4 inch hole into the metal of your vehicle while you again FIRMLY HOLD the mudflap in place against your vehicle using it as a template to drill the hole. (Note this is the only hole that gets drilled into the metal on your Scion XB). You will now use a spring clip from bag two and a smaller Phillips screw (14mm). You push the spring clip onto the metal around the hole you just drilled with the threaded part of the spring clip facing the black plastic of the wheel well. (You may have to push a little on wheel well to slide spring clip on). Then pushing mudflap firmly against your vehicle, screw it to your vehicle with a Phillips screw (14mm), the smaller screw from bag two. Step 6: Now you can go to hole #1 that you threw the push pin away and you can install the big Phillips screw (19mm) in its place. (No Drilling Required). AND FINALLY : The last hole to address is #3. Using the mudflap that is already being held securely in three spots now as a template drill a 5/16 hole into the plastic wheel well and insert the big plastic push pin that came in bag two. And you are now Done. Repeat these steps for the other rear side and then you can say you are done done. I can not stress how important it is to make sure your mudflaps are very securely against the body of your vehicle at every step of the way. Following this advice and the steps above in the order they are written will result in a very easy install and a great looking job. I included pictures of my 2015 super white Scion XB with the mudflaps installed. This is my wife's XB and she had me pinstripe it in yellow. I used 1/4 inch single strip yellow pin striping and she had to have a Tweety bird and a monster on the rear hatch. Yellow hubcaps are next. FYI: 2015 Is the last year they are making the Box. It is also the only year that they come with a factory installed rear camera mounted by the rear hatch door handle.
 Best Security Cameras on a budget
 Good value scan tool
 The 'Good Enough' Laptop
 Lightweight, comfortable, casual jacket with and oversized fit and cute style
 Major design flaw the company does not care about> Edit: new model is great!
 Easy to install - just do it!